
My build blog is here, but I thought I would put an occasional posting here as well..
This past weekend, I have been working on the tailplane and Rudder. Danny Fenton - a true scale master - has been guiding us through some of the steps needed to produce a realistic looking aeroplane. This is my first attempt at producing anything scale like.
Because all the linkages are hidden, assembly is really quite complex, so a couple of shots to show where I am.

The two linkages - upper rudder, lower elevator are buried in the fuselage under the tailplane and fin
The clevis connects to the tiller arm for the tailwheel, I need to attach the rudder tiller to the same rod.


The tube is now supported by a small strip of lite ply. One problem is that the arms rocks very slightly as the tiller moves in an arc as it is turned from left to right. It moves about 0.5 mm. This is because the tiller lengths for the tailwheel and the rudder are slightly different. However, as you can see, the axle is a sloppy fit in the tube. I am really hoping that I can get away with it...

Now, following Danny's instructions, its time to add some rivets. I have added a couple of strips of vinyl tape to simulate a joint in the metal sub structure and then using small drops of PVA applied with a syringe, I have added a few 'rivets'.

The riveter is a cheap syringe with a little glue and lots of air. Danny uses a little dispending bottle, but my thought was that once I get the pressure right to get a slow but constant flow rate, it should be simple to quickly move from dot to dot adding the rivets. It seemed to work OK.
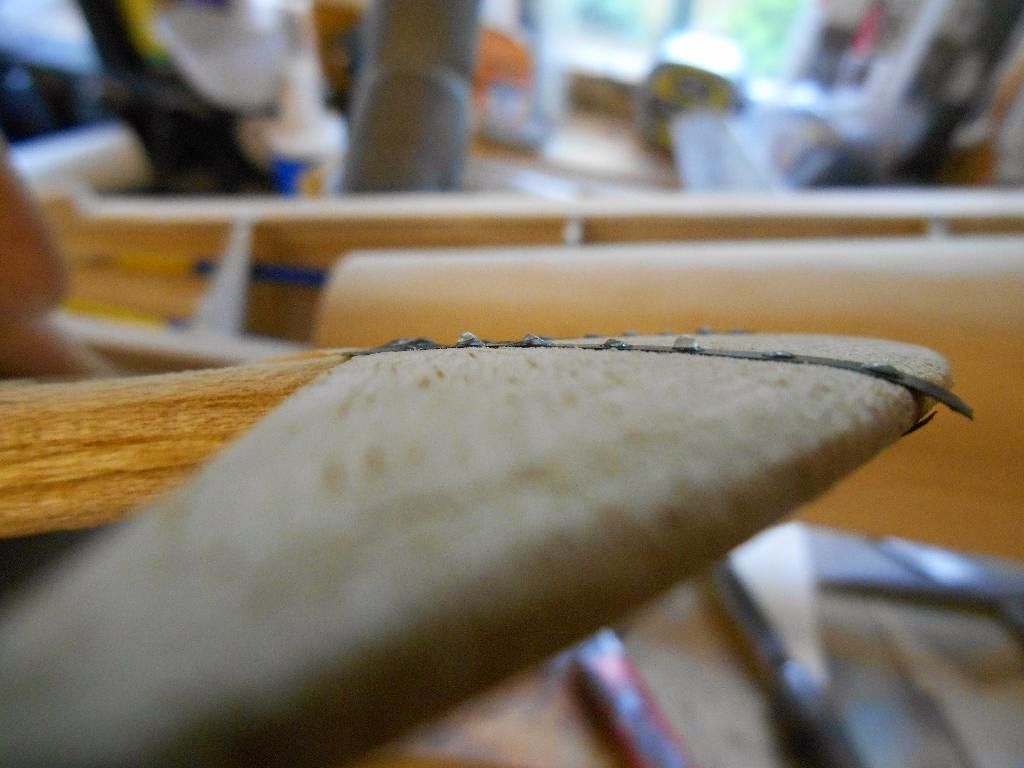
You can see from this shot they just stand proud..

When done and allowed to harden ( for a good coupe of hours). the rudder was covered in White Solartex carefully avoiding the rivets as they would flatten under the heat. (in fact I lost 2 in the process)

The next task is to weigh up what order to assemble the rear components, this is far more complex that it looks. I also have to add a carved tailpiece to finish off the rear fuselage. This will totally embed the elevator linkage. However, I cant do any of that until the tailplane and fin detail has been added, so rib tapes and stitching next

This is going to be a long slow build..
No comments:
Post a Comment